Damp to Dry: Your Ultimate Basement Waterproofing Checklist
A dry, safe basement isn’t just a luxury—it’s essential for maintaining your home’s structural integrity, health, and value. Moisture and water intrusion in basements can lead to costly repairs, mold growth, and even long-term damage to your property. Whether you’re tackling occasional dampness or chronic flooding, a comprehensive approach to waterproofing is critical. This ultimate Basement Waterproofing Checklist will guide you through identifying, preventing, and solving common basement moisture problems to protect your home and your family.
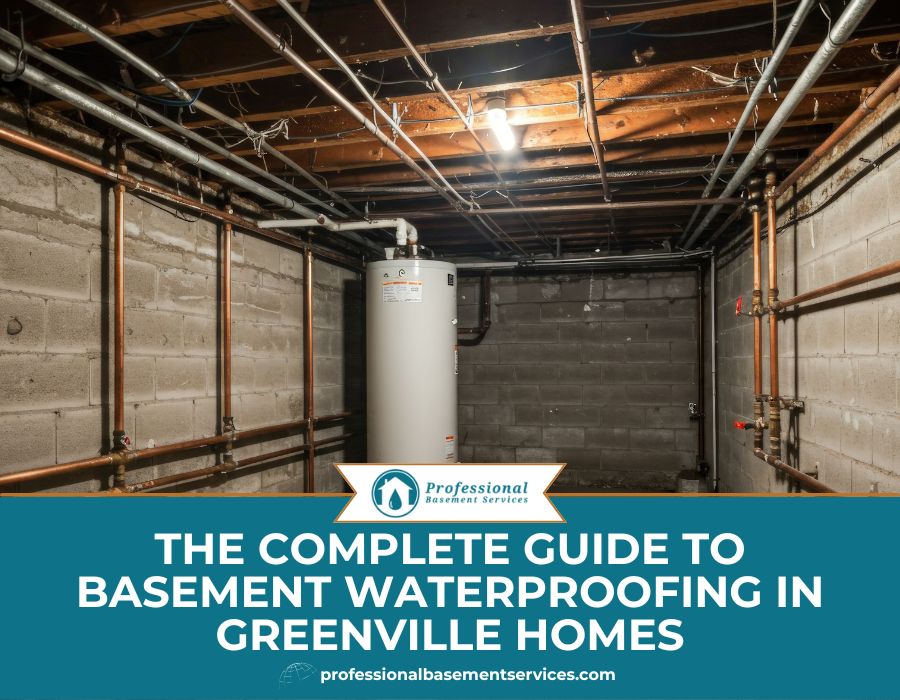
Understanding the Importance of Basement Waterproofing
Many homeowners overlook their basements until water issues become severe. Moisture in the basement can cause:
- Structural Damage: Water can weaken your foundation, leading to cracks, shifting, and even collapse over time.
- Health Risks: Damp basements are breeding grounds for mold and mildew, which can trigger allergies, asthma, and respiratory issues.
- Decreased Property Value: A wet or damp basement lowers your home’s market appeal and can make selling difficult.
This is why having a structured Basement Waterproofing Checklist is vital. By taking proactive steps, you can prevent costly repairs and ensure your basement remains dry and functional for years to come.
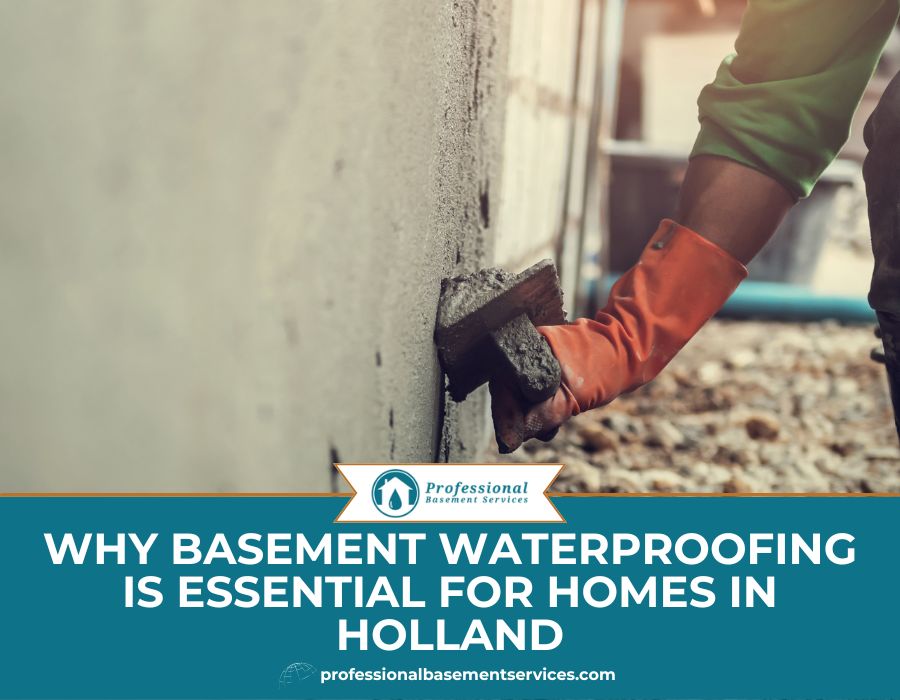
Step 1: Inspect and Repair Foundation Cracks
Foundation cracks are one of the most common entry points for water in basements. Small cracks may seem harmless, but over time, they can widen and allow water infiltration.
Inspection Tips:
- Look for hairline cracks, gaps, or fissures in walls and floors.
- Monitor cracks over time to see if they are expanding.
- Check both interior and exterior walls for hidden moisture or efflorescence (white powdery deposits).
Repair Solutions:
- Use hydraulic cement or epoxy injections for cracks in concrete walls and floors.
- Seal gaps around windows or doors with silicone caulk.
Including this step in your Basement Waterproofing Checklist ensures the first line of defense against water intrusion is strong and effective.
Step 2: Ensure Proper Exterior Drainage
Proper drainage around your home’s foundation is essential to preventing water buildup and seepage into the basement.
Key Actions:
- Clean Gutters and Downspouts: Prevent blockages that can cause overflow near your foundation.
- Downspout Extensions: Ensure water is directed at least 3–4 feet away from the foundation.
- Grading the Lawn: The soil should slope away from your home to encourage natural drainage.
By prioritizing exterior drainage, you reduce the risk of water pooling and penetrating your basement walls, a critical item on the Basement Waterproofing Checklist.
Step 3: Install or Upgrade Your Sump Pump
For homes in flood-prone areas or regions with high water tables, a sump pump is a basement lifesaver.
Checklist Tips:
- Test your sump pump annually to ensure it functions correctly.
- Install a battery backup to maintain operation during power outages.
- Consider a high-capacity pump if your basement experiences frequent flooding.
A properly functioning sump pump is a cornerstone of any effective Basement Waterproofing Checklist, preventing minor leaks from turning into major problems.
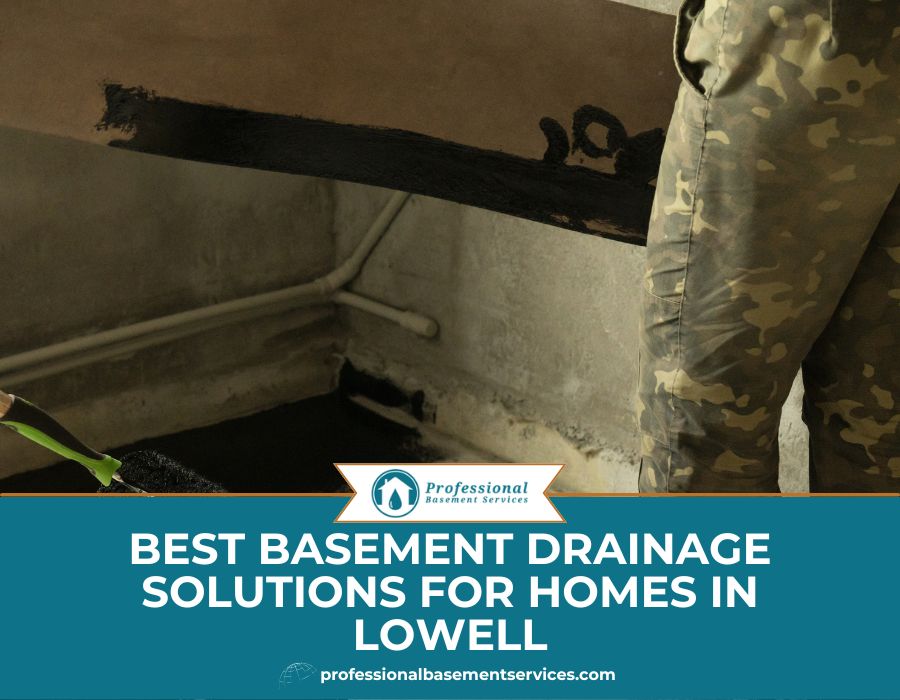
Step 4: Apply Waterproof Coatings and Sealants
Waterproof coatings create an additional barrier to moisture entering your basement.
Interior Waterproofing:
- Use waterproof paints or sealants on basement walls to block minor dampness.
- Focus on areas prone to condensation or leaks, such as around window wells or along joint lines.
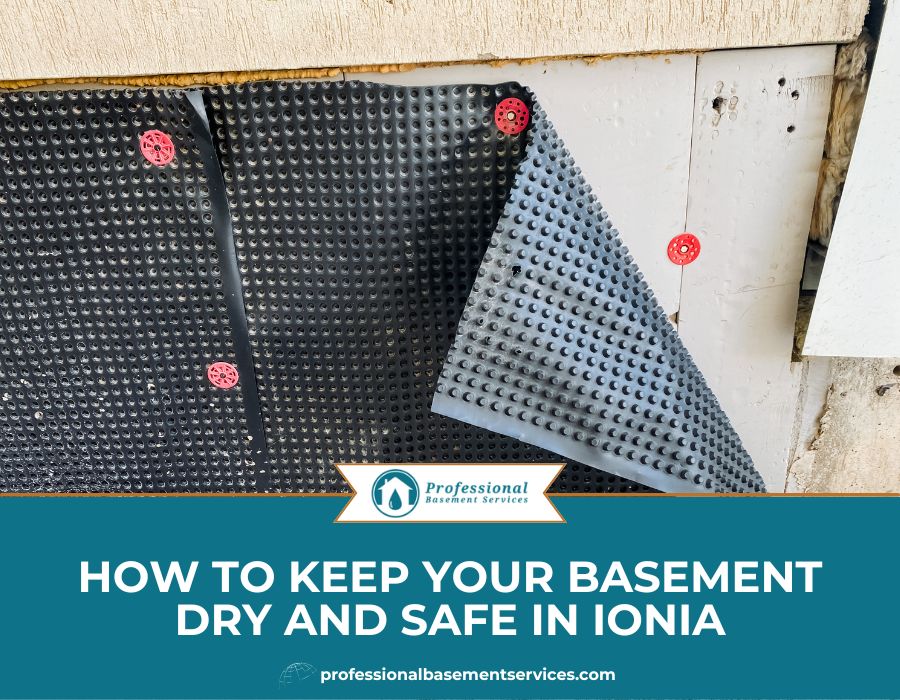
Exterior Waterproofing:
- Though more invasive, exterior membranes or coatings applied to the outside of your foundation provide long-term protection against water seepage.
- Combining interior and exterior solutions offers the most comprehensive coverage.
Incorporating waterproof coatings is a non-negotiable step in a robust Basement Waterproofing Checklist.
Step 5: Improve Ventilation and Control Humidity
Even minor humidity can create damp conditions, mold growth, and poor air quality.
Practical Steps:
- Use Dehumidifiers: Maintain relative humidity between 30%–50%.
- Enhance Ventilation: Install vents or use fans to improve airflow.
- Monitor Conditions: Consider a hygrometer to track humidity trends and catch issues early.
Controlling moisture in the air complements physical waterproofing measures and keeps your basement dry long-term.
Step 6: Inspect and Repair Window Wells
Window wells are a hidden source of water intrusion if left unchecked.
Checklist Actions:
- Install window well covers to prevent debris and water accumulation.
- Check for proper drainage in existing wells. Water pooling around windows is a common cause of basement leaks.
Ensuring window wells are properly maintained is a vital item in your Basement Waterproofing Checklist, especially for older homes.
Step 7: Conduct Regular Maintenance and Monitoring
Waterproofing isn’t a one-time task; following a thorough Basement Waterproofing Checklist and conducting regular inspections prevents small problems from escalating.
Ongoing Maintenance:
- Inspect for peeling paint, water stains, or musty odors.
- Check sump pump operation and test backup systems.
- Consider annual professional assessments to catch hidden issues.
Routine monitoring ensures your basement remains dry, safe, and structurally sound.
Bonus Tips for Your Basement Waterproofing Checklist
- Landscaping Matters: Trees and shrubs too close to the foundation can alter soil moisture and affect drainage. Maintain a proper distance.
- Plumbing Inspections: Check for leaks in pipes, water heaters, and appliances, as plumbing failures can mimic basement waterproofing issues.
- Smart Home Sensors: Install water detection sensors to alert you to leaks before they cause damage.
When to Call a Professional
Some basement waterproofing challenges require expert intervention:
- Persistent leaks despite DIY solutions
- Extensive foundation cracks or bowing walls
- Severe mold infestations
- High-risk properties in flood-prone areas
Professional waterproofers bring experience, equipment, and solutions beyond standard DIY measures. Consulting them and following a Basement Waterproofing Checklist is a smart investment to secure your basement for years.
Conclusion
Transforming your basement from damp to dry is achievable when you follow a structured Basement Waterproofing Checklist. By inspecting cracks, improving drainage, installing a sump pump, applying coatings, managing humidity, and performing routine maintenance, you can protect your home from water damage and create a healthier, more valuable living space.
Proactive basement waterproofing not only prevents costly repairs but also ensures peace of mind, a safe environment for your family, and long-term protection for your investment.
FAQ
Q: How often should I inspect my basement for water damage?
A: Inspect your basement at least twice a year, ideally in spring and fall, to catch moisture issues early.
Q: Can waterproofing my basement increase my home’s value?
A: Yes! A dry, well-maintained basement is a valuable asset that enhances your home’s market appeal and overall property value.
Q: Is preventative waterproofing necessary if my basement has never had water problems?
A: Absolutely. Preventative waterproofing can save you from future damage, especially in areas prone to heavy rain or flooding.
Q: What’s the most cost-effective step in a basement waterproofing plan?
A: Ensuring proper exterior drainage and grading is one of the most cost-effective measures to prevent water infiltration.
Q: Can I DIY all the steps in the checklist?
A: While some steps like sealing small cracks or using dehumidifiers can be DIY, major structural issues and exterior waterproofing are best handled by professionals.